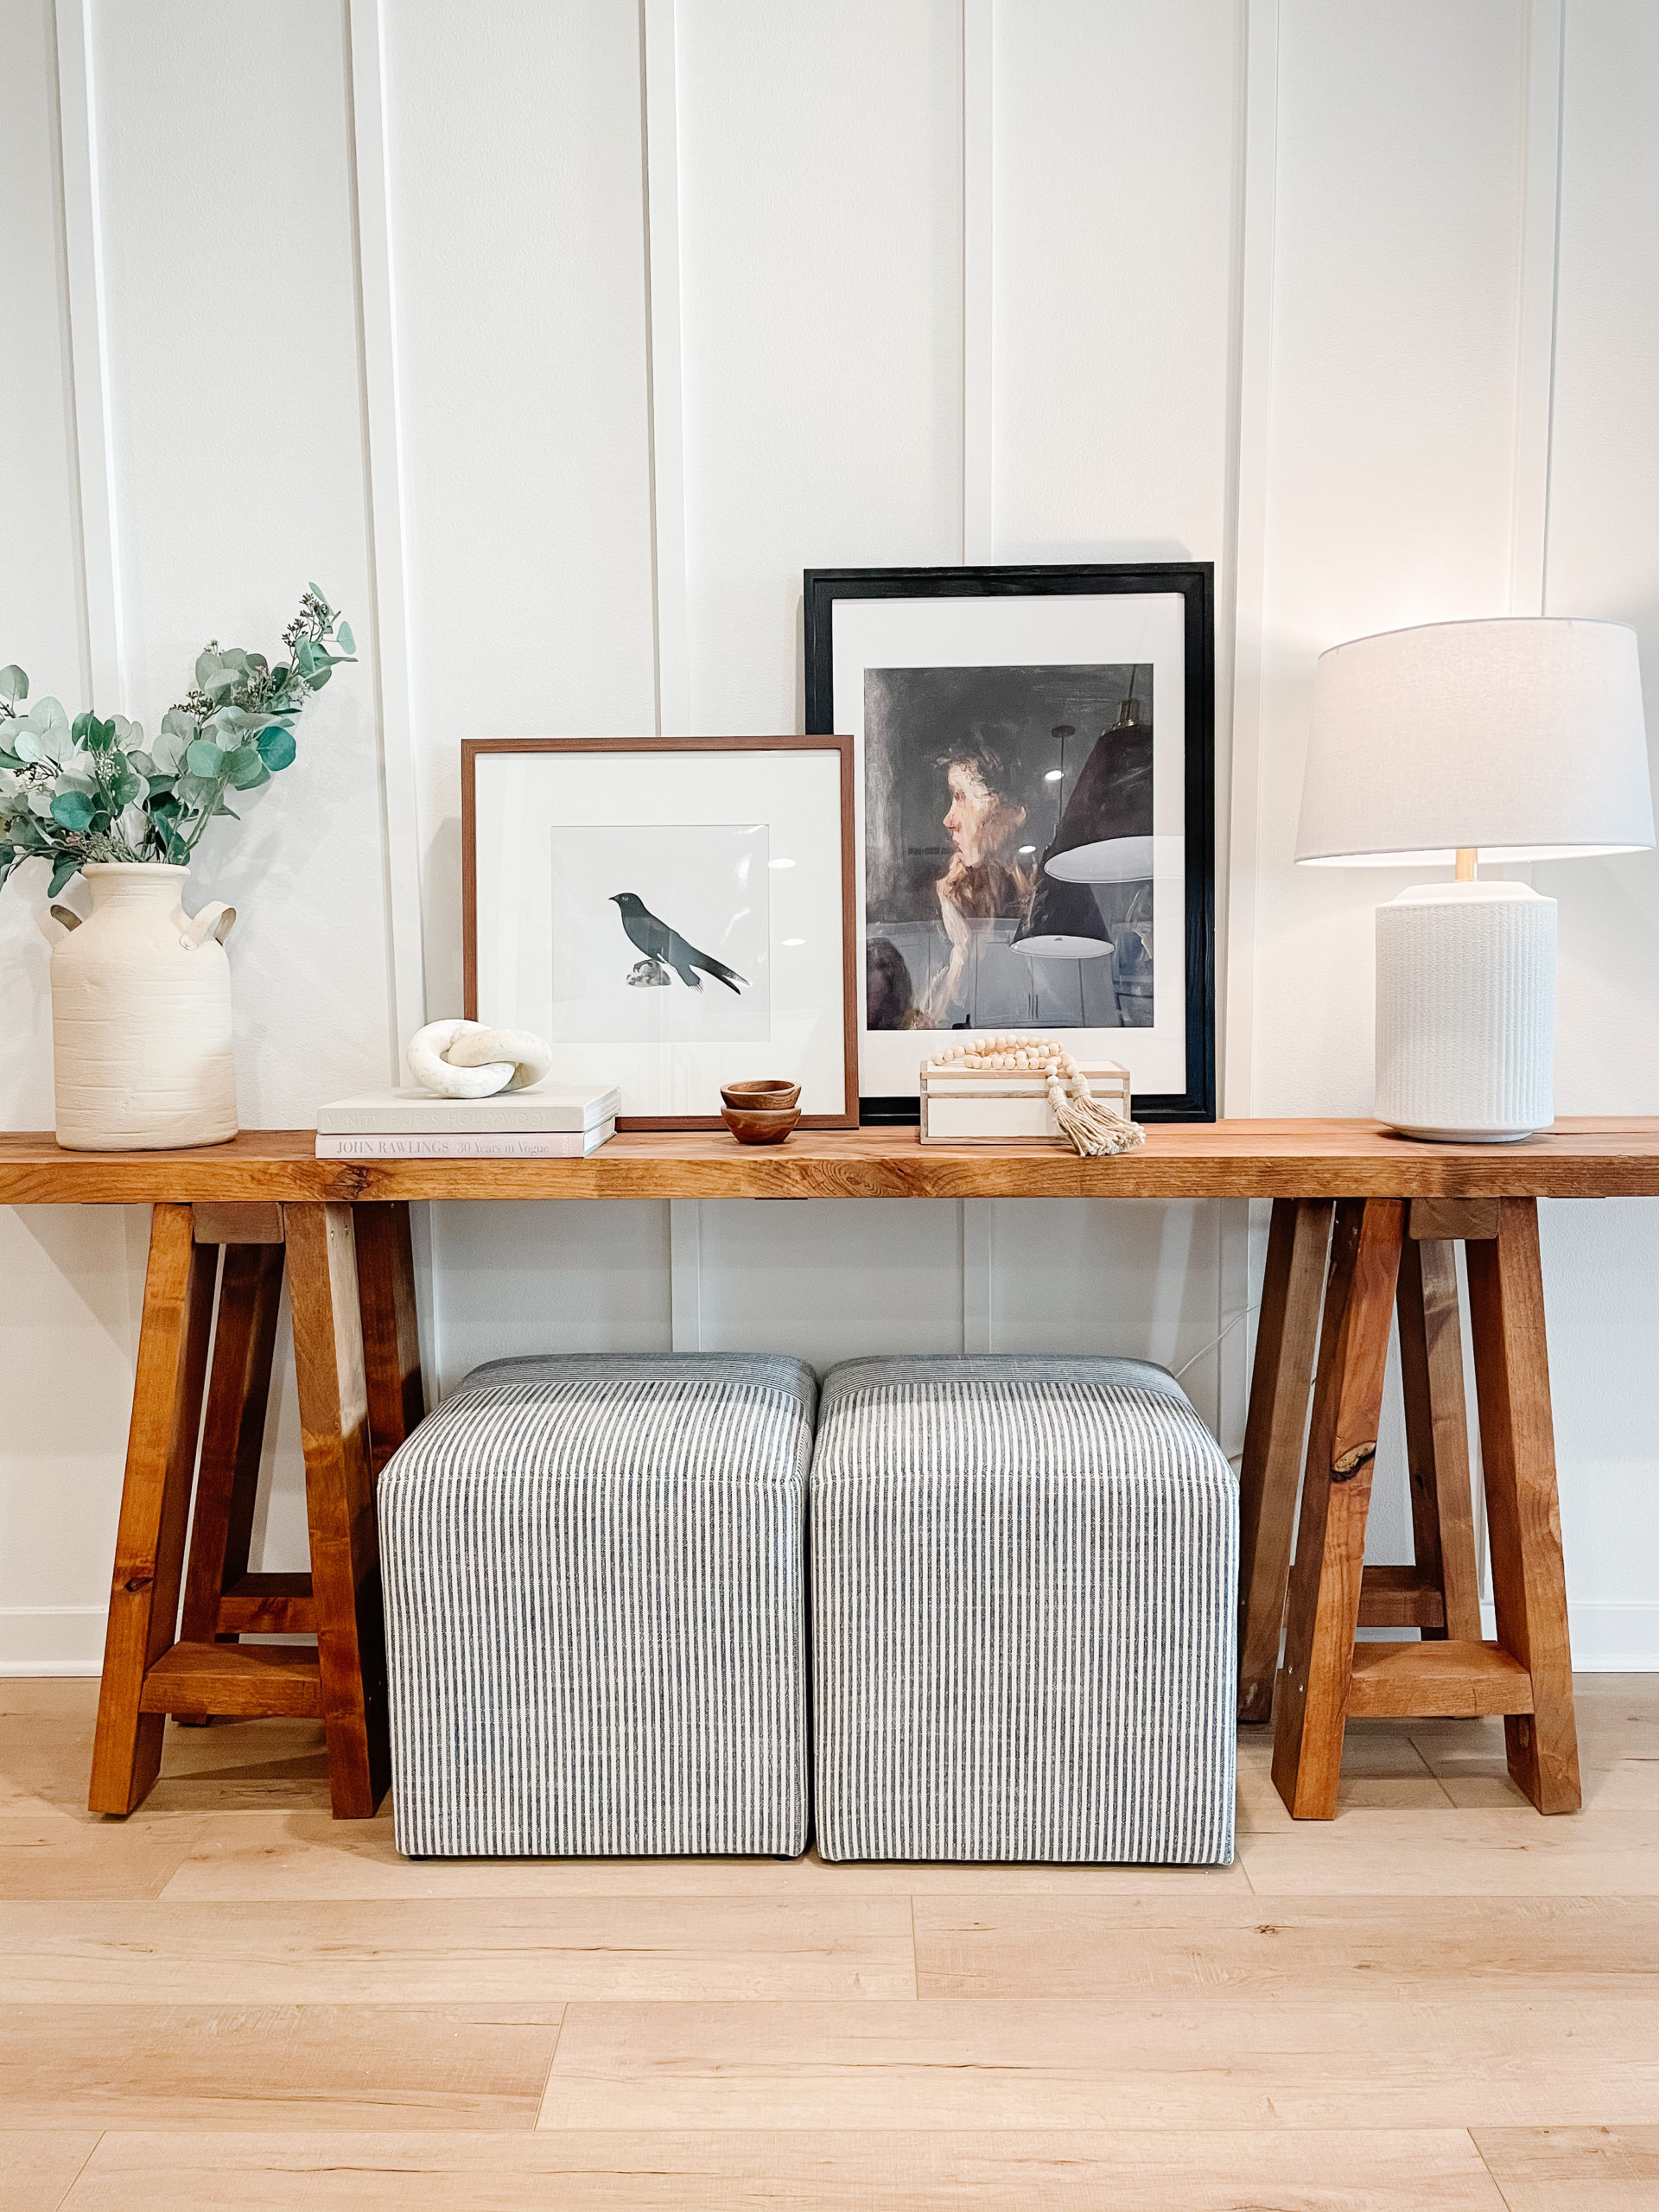
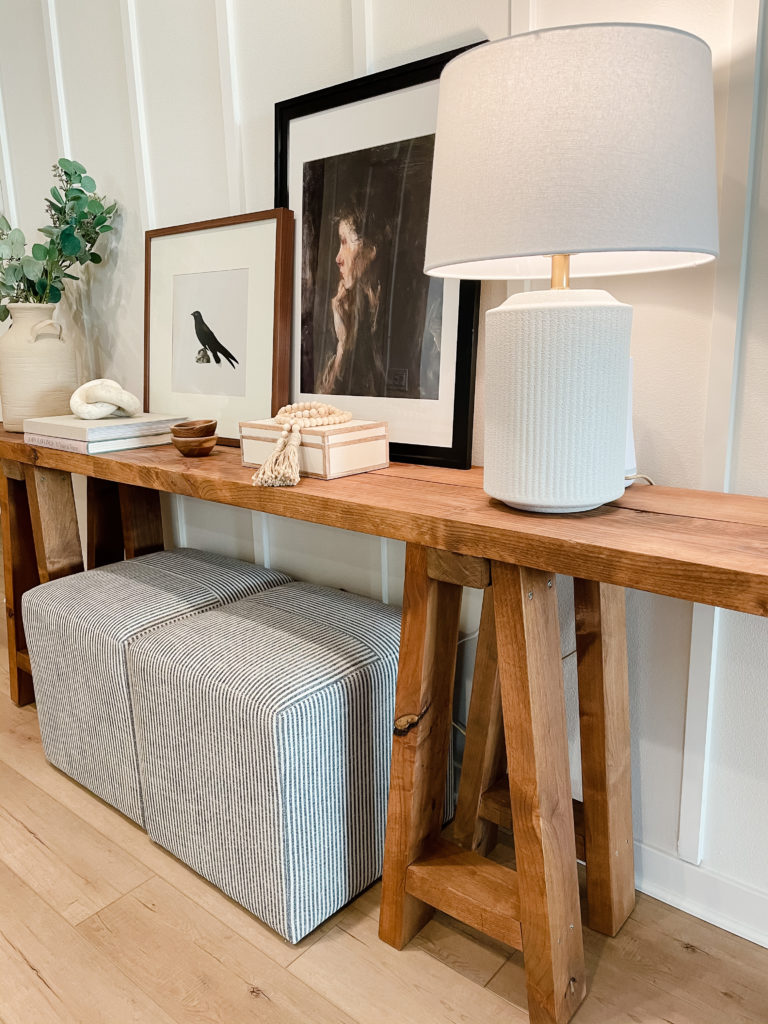
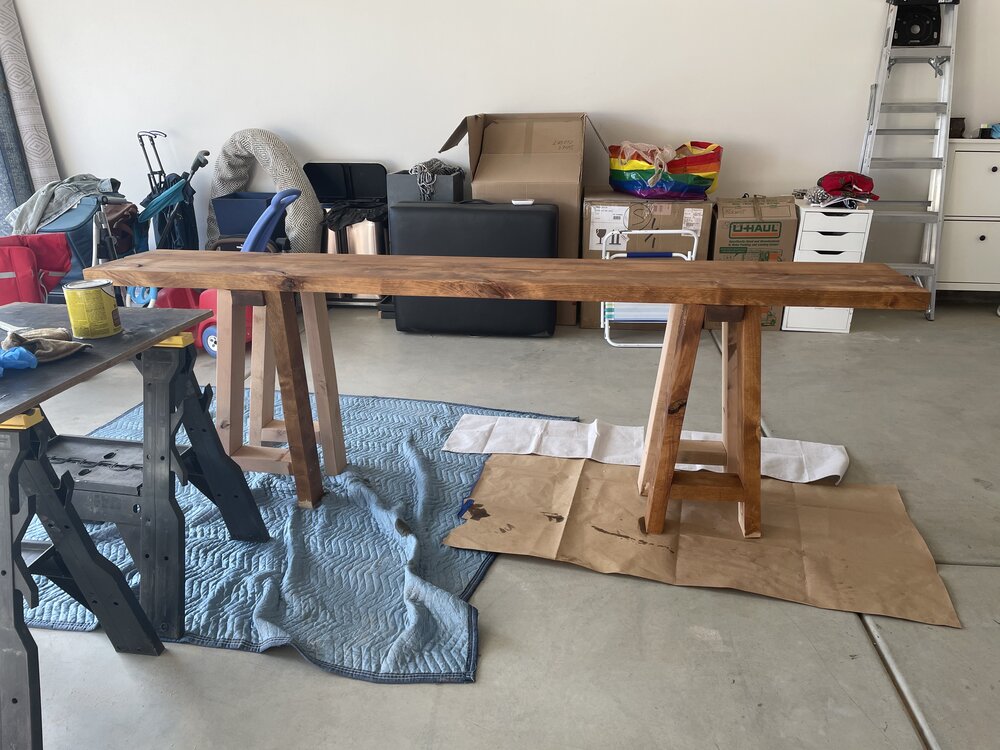
I am so happy and proud to share with you my best DIY project yet! This is a wood sawhorse style console table that my Father-in-law and I worked on. First off, I would like to make it clear that we are total beginners and not wood craftsman whatsoever. We learned quickly on how we could have done it better but we still wanted to take a stab at this. I will be honest here, that my FIL is elderly and for the past 8 months with COVID, he has been home (safely, thank gosh) but extremely bored. So, this project gave him life again and he was totally in his element as he loves to do projects like these… but it did come, let’s just say, interesting challenges!
My Father in Law is very traditional, (he’s 86!) so he barely let me lift a finger except to stain but I was behind him each step of the way. Let’s just say that we can laugh about it now after all said and done and proud of him that he actually was able to help me with this table.

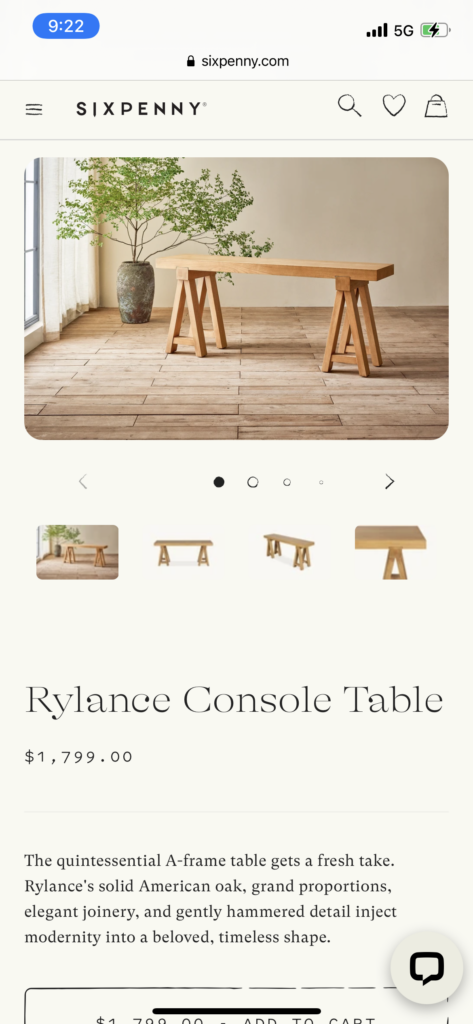
Here’s the original inspiration photo.
The original idea I used to create this was the Rylance console from Six Penny. I was in love with it for the longest time but I just could not justify the price of $1,799. I am all for decorating the home with high and low pieces, (Our sectional from Arhaus was the most we ever spent on 1 piece of furniture) and understand the work, labor costs, expertise and time that goes into each piece.) But for a console table, I only wanted to spend under $800 as I can use the rest of the $1,000 for other furnishings in my home and stretch my dollar a bit further. All of these materials cost me less than $180!
If you are to take on this project yourself, I would recommend making some tweaks to make it easier and flawless.
Our key learnings:
1) You’ll need to cut bevels on the tabletop legs (on the bottom and top) and the wood that goes across so that the table is sturdy (that’s the most important thing to building a table, amiright?)
2) Rubbing wood stain with a cloth provides a lighter coat vs. painting with a brush then removing with a cloth. I prefer to use a cloth and rub it in..
3) The Phillips Wood Screws from Home Depot, SUCK! They stripped soooo easily so I will recommend some different ones with a star or square drive with a flat head. I’ve listed some screws with good reviews, below.
The Shopping List
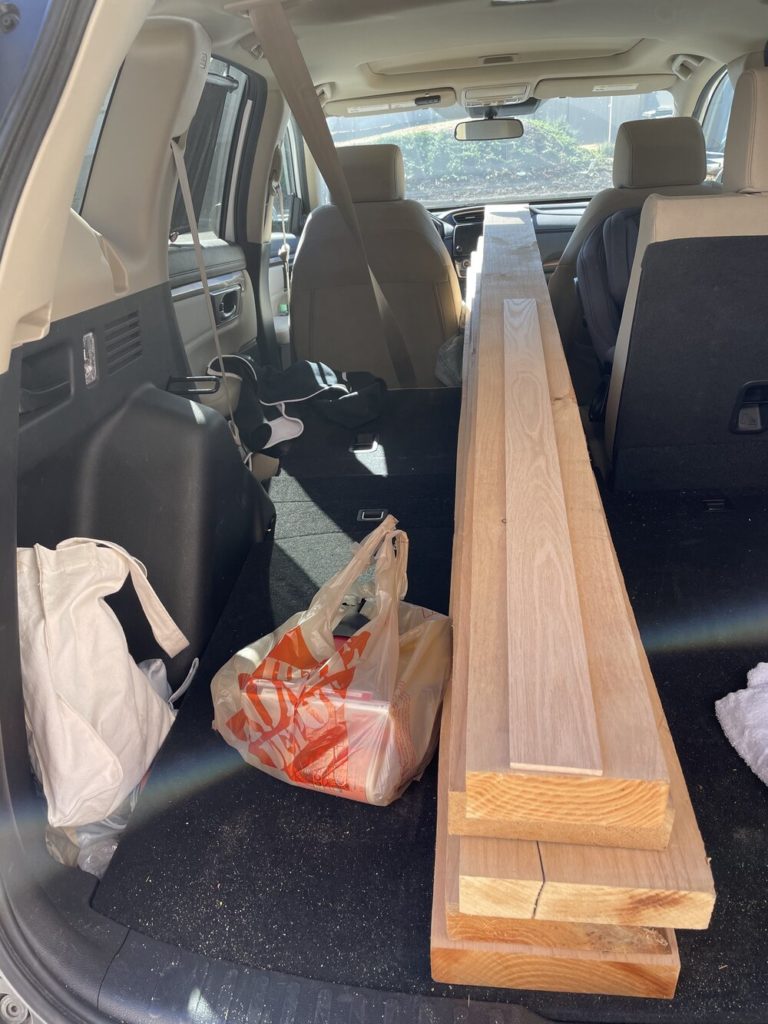
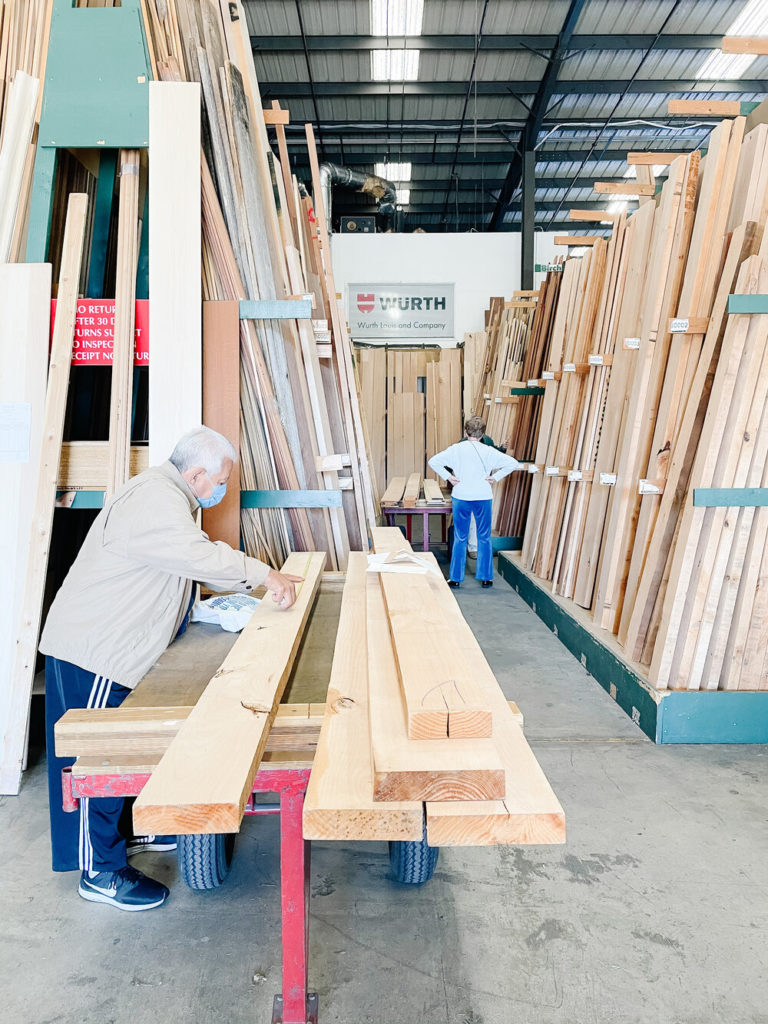
These are the materials and dimensions for a 8 foot long table, which is what we opted for because we had a super large wall for it. If you want a shorter table, you can go for 72” inch long (6 feet). You can use a soft wood that you prefer, we used alderwood as it’s a soft wood thats easy to work with! I can suggest pine for another inexpensive wood that has low-density and is a softwood that takes stain well.
Lumber Materials:
- For the tabletop: 2 pieces of pine or alderwood. 8’ feet (or 6 feet) long x 8” (in) wide x 2” (in) height. For the legs:
- 4 pieces of 6 foot 2×4’s for the leg components.
- 1 piece of 4 foot 2×4’s for the “box” that connects the legs and the tabletop.
- 1/4-in x 3-in x 4-ft Square Unfinished Poplar Board – cut into 3 pieces that are 16 inches long. These 3 strips will hold the tabletop together at the bottom of the tabletop.
Nails/Screw Materials:
If you can find smaller pack of these screws below, great. However, it seems as though they only come in packs of 50 or 75 as the lowest option.
- 8 x 1-1/4-in Yellow Zinc Flat Interior Wood Screws (75-Count)
- 9 x 3-in Yellow Zinc Yellow Zinc Flat Interior Wood Screws (50-Count)
- 10 x 4-in Yellow Polymer-Countersinking Interior/Exterior Wood Screws (50-Count)
Stain: Minwax Wood Finish Oil-Based Stain in Golden Oak
Tools/Other Materials Needed:
Power drill
Table Saw (or use a millworker)
Miter Saw
Orbital Sander or Hand sander
Fine sandpaper for sander
Triangle Ruler
Level
Pencil
How We Built It
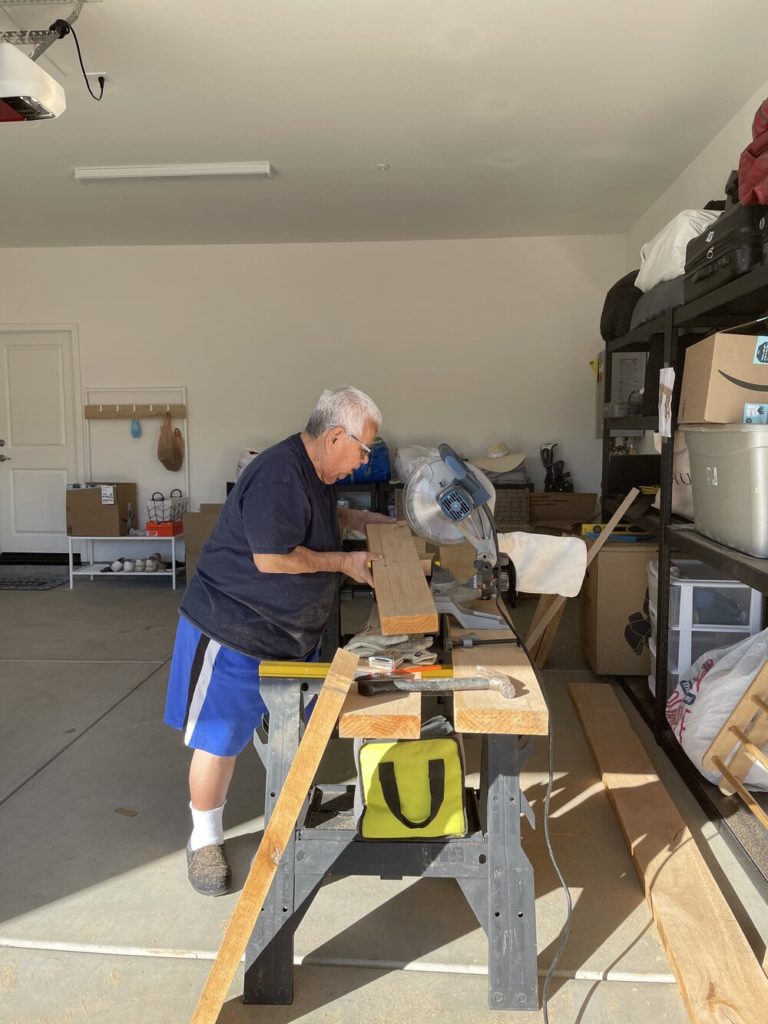
Do all your cuts first yourself with a table and miter saw or if you don’t have a table saw, have a professional millworker from your local woodworking shop do it for you. Many woodworkers will do this for you for a nominal charge (under $60).
Put the tabletop together
- Cut the 1/4-in x 3-in x 4-ft Square Unfinished Poplar Board -into 3 pieces that are each, 16 inches long. These 3 strips will hold the tabletop together at the bottom of the tabletop.
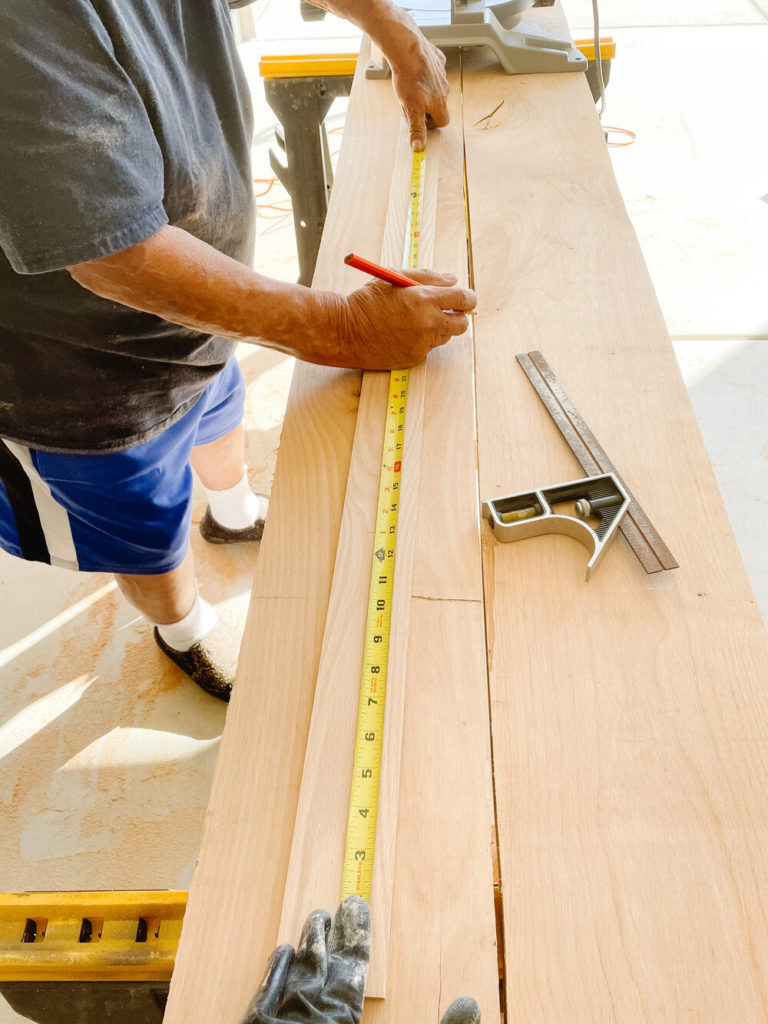
- Decide which side of the tabletop wood pieces you’ll be using as your top and your bottom and place them side by side on a workstation or workbench.
- Now, we need to mark where the attachments are going to go at the bottom of the tabletop. Using a pencil, mark and measure 16 inches from the side edge of the tabletop for an 8 foot table or 12 inches from the side edge of the tabletop.
- Using the 8 x 1-1/4-in Yellow Zinc Flat Interior Wood Screws, screw in approximately 4-6 holes (alternating in a zig-zag pattern) into the bottom of the 2 tabletop bottoms so that they attach to each other.
- Cut 2 pieces of 2×4’s to the width of your tabletop. For example, ours was 16 inches wide, so we cut 2 pieces of 2×4’s for the piece that connects the tabletop to the legs. 6. Use the 3” screws and screw these 2×4’s into the tabletop, butt up against the 2 poplar planks (on the interior side of each).
Time to Build the Legs
So, since we had a lack of knowledge and not all the correct tools, we did the best we could and did not form flat surfaces on the top or bottom of the 2×4 legs. The way we did it, would be OK, but not the best way to do it because our table is just slightly wobbly. It’s still sturdy but a tad wobbly.
- Cut each leg to 29” or the height you prefer.
- Then, I recommend cut 10 degrees off the the “top” and “bottom” of each leg with a miter saw and make sure they are in opposite directions. We didn’t do this and therefore our table is a bit wobbly.
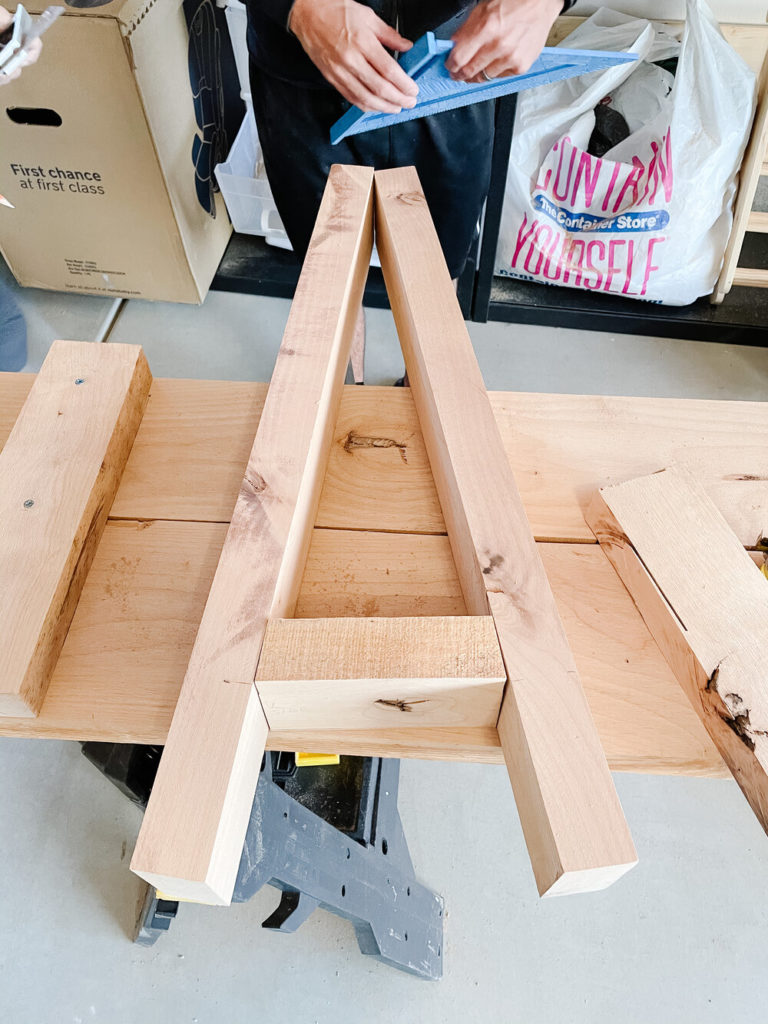
- Once you have your legs cut, then put them on the “block” that connects the tabletop to the eventual legs. Mark the distance approximately 6” north of the bottom of the legs where you will put the crosspiece. Measure that distance and cut those 2×4’s to that length with bevels-those will also have a 10 degree bevel. We had a 9” length (see photo below) and cut a 10″ degree angle.
- Once you have all the components to your legs cut, then time to screw them together!
- Make 4 legs by screwing the legs together first by attaching the tall pieces together with the cross-connector piece. Use the 3” screws, 2 on each side.
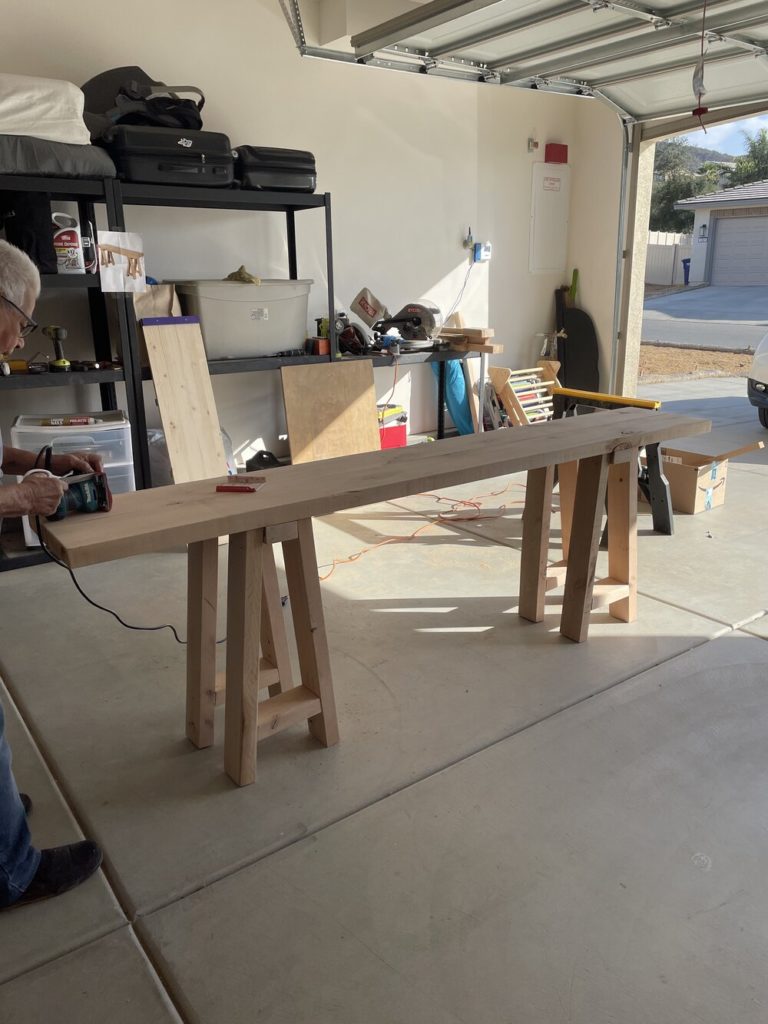
- Then, once you have your legs assembled, make sure your tabletop is faced bottom up (duh, right?) Then screw the top part of each leg in with the 4” screws at an angle. The angle should go towards the tabletop. Does that make sense?
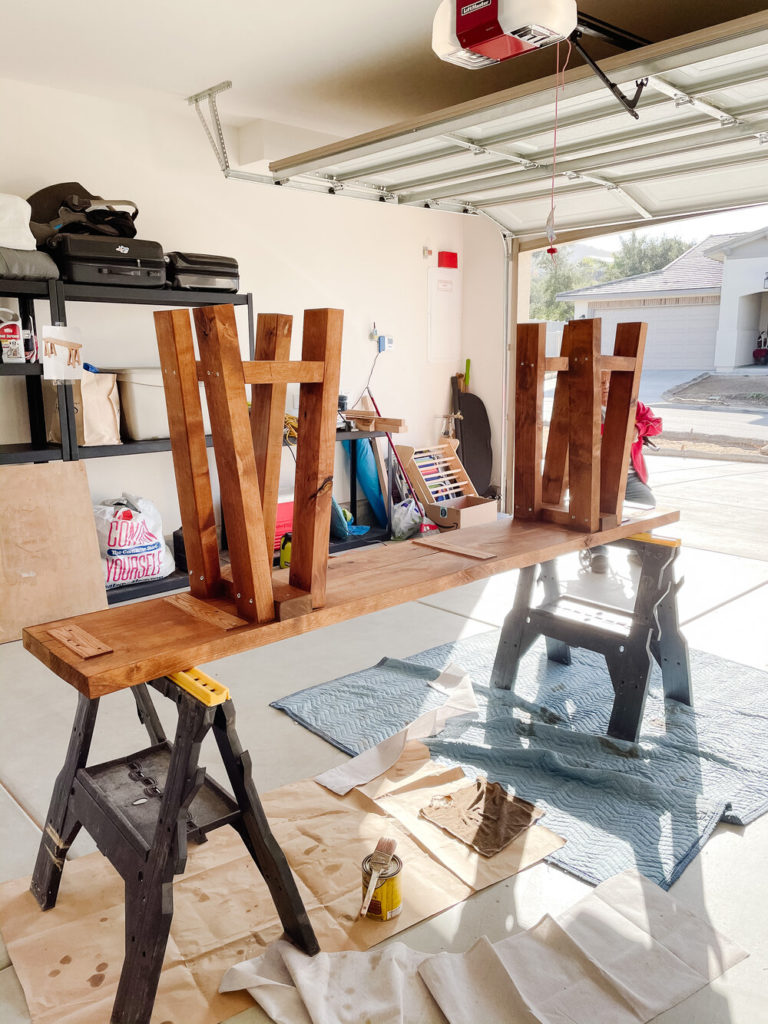
Time to Stain!
Now here is my favorite part…
- Sand the table and legs with an orbital sander with a fine finish.
- Dust and brush off all sawdust with a dry towel.
- Use Minwax Wood Finish Oil-Based Stain in Golden Oak or the stain/poly of your choice. I love the stain by itself as it gave off a matte finish and applied it with an old rag. I prefer using an old rag as it applied a light coating vs a heavier coating using a brush. It’s your choice!
- Let dry, and most of all, ENJOY YOUR NEW CONSOLE TABLE AND YOUR EXTRA $1600! =)