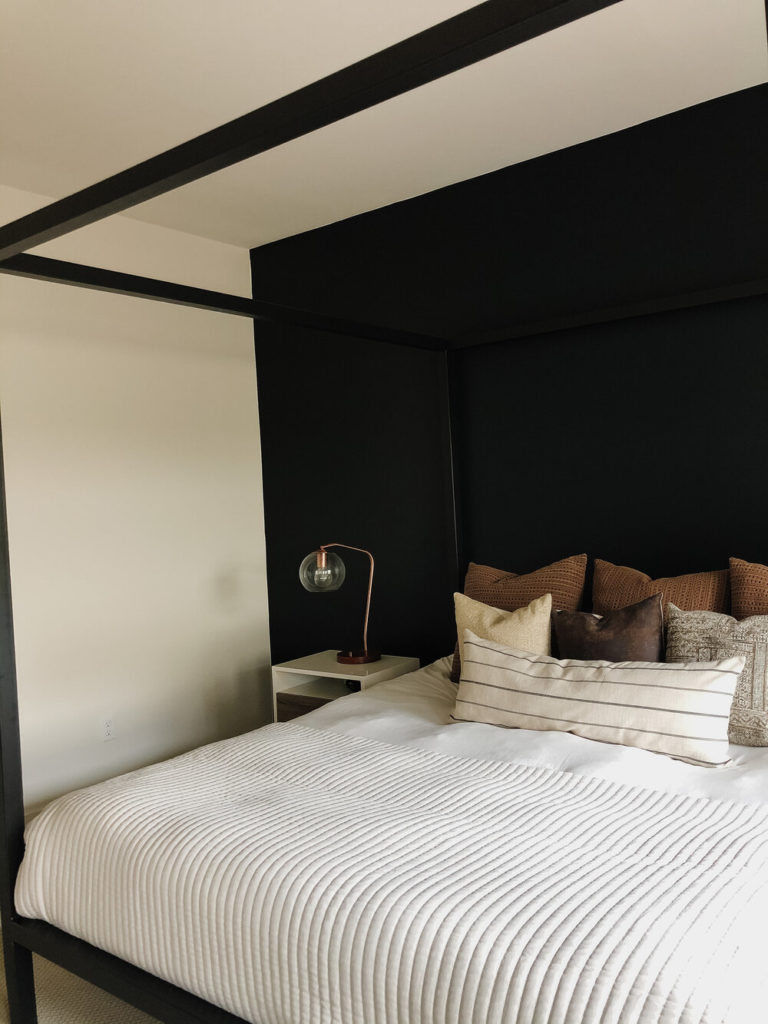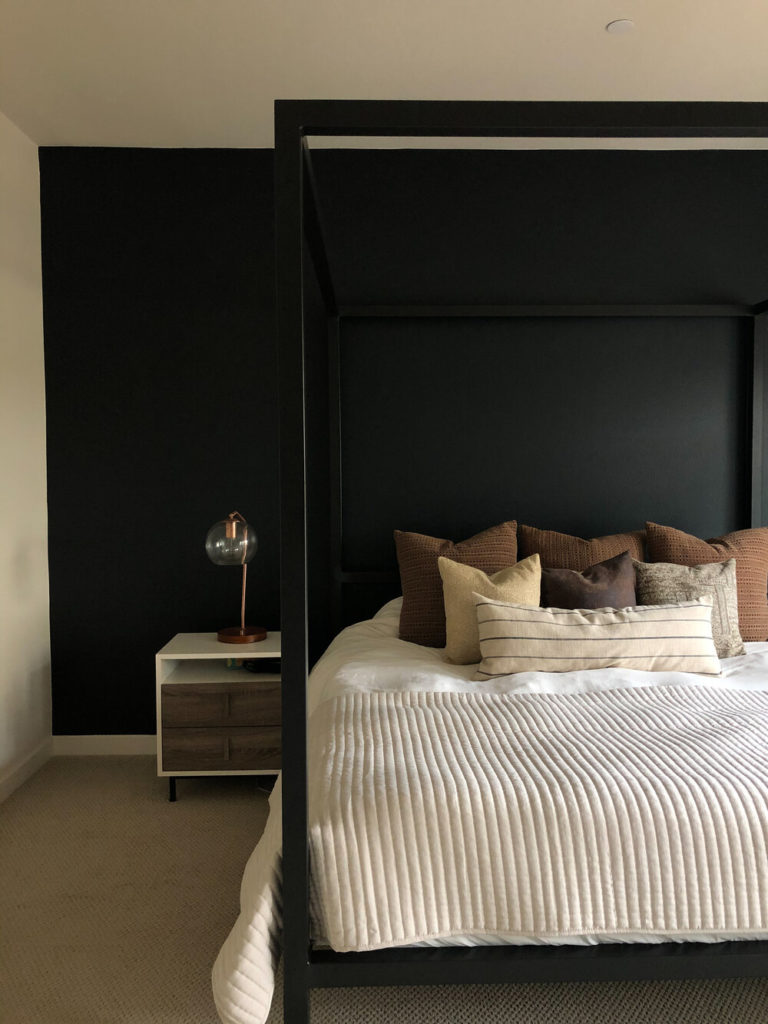

# 1: Be sure to take the time to swatch the real paint colors.
- FACT: Paint color samples are not real paint! And what do I mean by that? Forget the chip cards (Use them as a guideline as a starting point). Actual paint samples are the truest way to settle on color and come in liquid servings of watered-down paint in sizes ranging from 7.2 ounces to around 30 ounces. The choice, sampling and application of sampling paint colors for your home is a process that takes time. This part of the process should not be rushed. Sit with the paint for a few days and see how you feel. These samples cost around $5 and are available from paint stores (e.g., Sherwin Williams, Benjamin Moore) and big box and hardware stores (e.g., Home Depot, Ace Hardware and Lowe’s). They are meant to be brushed onto the area that you intend to paint.
- Paint two coats of samples your wall with a foam roller. Since paint samples are more water-based, it will require two coats for the realistic color. For a one-wall application such as an accent wall, you will be able to create a 5-foot by 5-foot square of test paint. For entire rooms, it is beneficial to coat all four walls because of shifting natural light during the day and artificial light at night.
- Observe how the colors look in different light and at different times of day, and remove the ones that don’t endure in their appeal until you’re down to just two or three contenders. Be sure to see how it feels with your furniture in that room. You can even sit with it for a few days and see how you feel as you look at it each time you enter the room.
#2: Decide on the Finish
When you decide on your final paint color, then you should decide on the finish.
Quick Tips:
For walls in (adult) bedrooms, use an eggshell finish. Eggshell tends to have excellent color saturation and the ability to wipe down the wall without changing the wall texture. It has just a slight sheen but not too shiny.
For high traffic common areas and children rooms, use a satin finish. such as the living room and hallways, I prefer a satin finish which is formulated to hold up to cleaning and light scrubbing.
#3: Buy your materials!
- Purdy Foam Rolling Kit Be sure to buy a (higher) quality foam rolling kit if you don’t already have one, depending on the texture of your wall.
- Frog Tape (you will get a more seamless edging and less mistakes with Frog Tape vs. Blue Tape!) Frog Tape is the BEST!
- Canvas Drop Cloth; make sure it’s large enough to cover the space and a bit more in the area that you are painting.
- Paint Holder to hold paint for when you do the trim. Going up and down the A-frame ladder is super annoying to try to obtain paint from the paint tray, so it’s best to have one that you can hold in your hand.
#4: Now, prepping takes the most time!
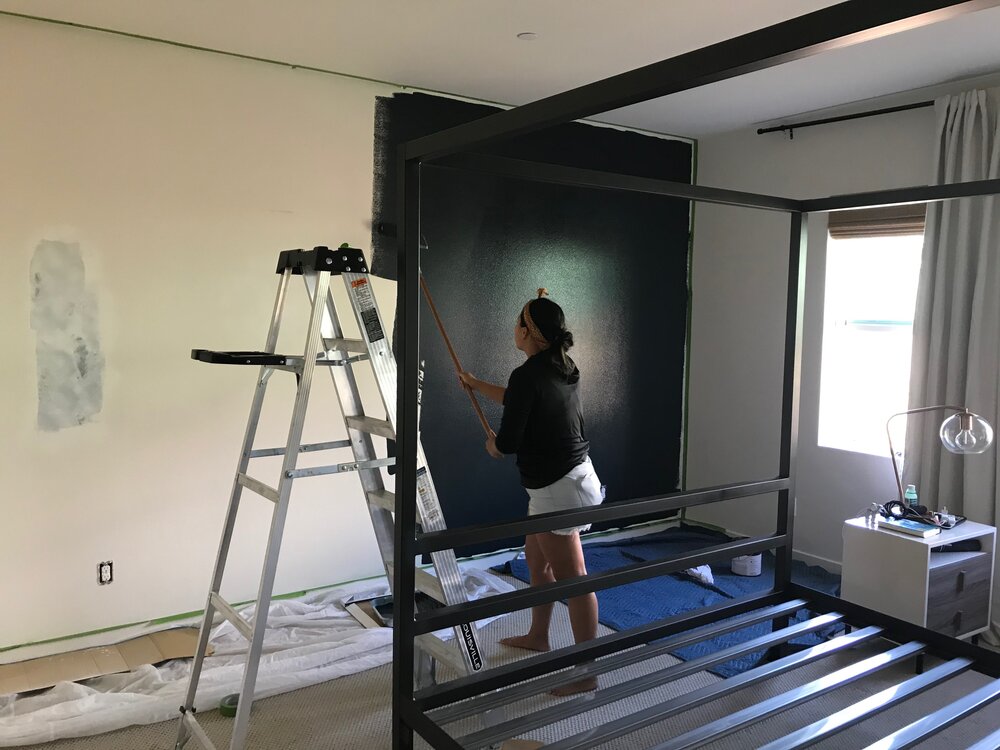
- Prep the wall(s) with frog tape and make sure you line the floor with the drop cloth (do not do what I did in my photo, below, this was poor preparation, lol!) Click here for a video on how to apply Frog Tape.
- Paint the trim (edges) first, a few inches into the center of the wall and then foam roll in a “W” shape. Repeat for two or three coats of paint.
- Wait at least 24 hours to dry before removing the tape or touching the wall.
- VOILA! I would love to see your work, tag me in #dwellandoak on Instagram so I can see what you’ve done in your own home!

with love,
Jennifer Ma
